





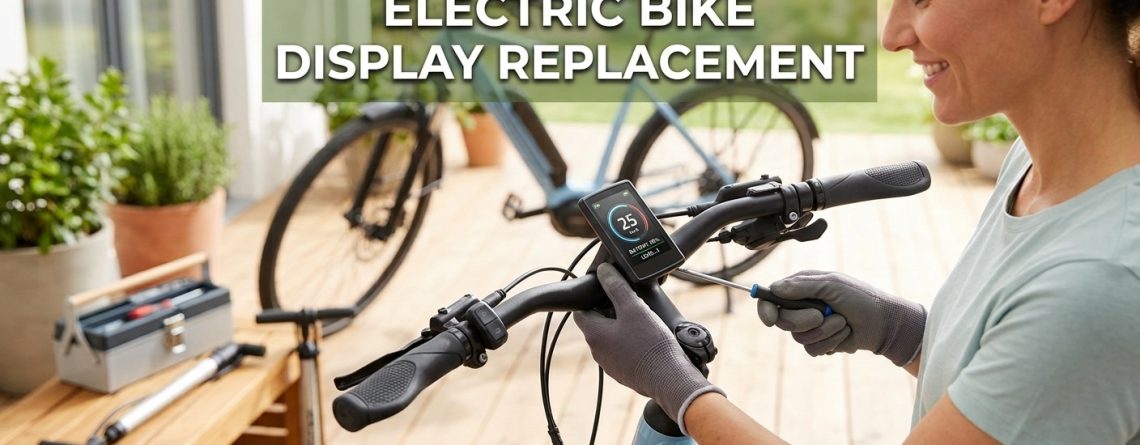
How to Effortlessly Master Electric Bike Display Replacement
What is an electric bike display replacement? It is the process of swapping out a damaged or outdated e-bike LCD screen for a new, compatible monitor. This involves identifying the correct voltage, matching the connector type, and carefully installing the new unit into your existing wiring harness to restore functionality.
Why You Might Need a New Bike Display 🌱
I still remember the afternoon a sudden downpour caught me halfway through my commute. By the time I got home, my once-reliable ebike digital display was completely fogged up. The next morning, it was completely blank. Has something similar happened to you?
Whether it is caused by water damage, a cracked screen from an unexpected tumble, or an internal electrical failure, a dead screen turns a high-tech ride into a very heavy traditional bicycle. Doing an electric bike display replacement yourself is actually easier than you might think, provided you know exactly what specifications to look for.

A cracked or water-damaged ebike display screen often requires a complete replacement.
In my case, the frustration wasn’t just losing my speedometer; I lost access to my pedal-assist levels entirely. A functioning e bike screen is the central command center for your entire riding experience. It communicates directly with your ebike controller to manage speed, battery output, and motor engagement.
Common Q&A: Identifying Screen Issues
Can I repair my e bike display instead of replacing it?
Usually, no. Once an ebike lcd is cracked or severely water-damaged, the internal microchips corrode. Replacing the entire unit is the safest and most reliable solution.
Will any display for ebike work on my ride?
Absolutely not. Displays are programmed to communicate with specific controllers. If you plug in an incompatible ebike computer display, it either won’t turn on or could short-circuit your system.
Not sure where to start?
Check your user manual to verify your current system’s voltage and protocol before ordering parts.View Compatibility Details
Understanding Compatibility Before You Upgrade 💡
Before you purchase an ebike screen replacement, you must match three critical factors: voltage, connector type, and communication protocol. A lot of riders assume that an electric bike lcd display is universal. To be honest, I made this mistake early on and ended up with a useless piece of plastic.
1. Voltage Matching
Your new e bike digital display must match your battery and controller voltage—typically 36V, 48V, or 52V. Some modern displays allow you to toggle the voltage in the internal settings, but you must confirm this feature exists before buying.
2. Connector Type and Wiring Harness
This is where things get physical. Check the wire coming out of your current electric bicycle monitor. Does it have a round, waterproof Julet/Higo plug (often green with 5 pins), or does it use standard JST or bullet connectors? The pinout must align perfectly for a plug and play installation.
[Image: Close up of a green 5-pin waterproof Julet connector next to a standard JST connector. Alt: matching connector type for an ebike lcd display]
Always trace your wiring harness to confirm the connector type before ordering a new display.
💡 Why matching the connector type saved my upgrade
“When I decided to upgrade my e bike lcd display, I almost bought a unit with a 6-pin connector while my harness only supported 5 pins. Taking five minutes to trace the wire down to the controller saved me the headache of splicing wires. Always count your pins!”
Troubleshooting Common Error Codes
Sometimes, your ebike displays will tell you exactly what is wrong. If your screen still turns on but isn’t functioning, check this table of common error codes before assuming you need a full replacement.
| Error Code Meaning | Common Cause | Potential Fix |
|---|---|---|
| Error 30 (Communication Failure) | Loose wiring harness or incompatible ebike controller. | Unplug and firmly reconnect all display cables. |
| Error 21 (Speed Sensor Issue) | Magnet misaligned on the rear wheel. | Adjust the wheel magnet to face the sensor directly. |
| Error 24 (Motor Hall Sensor) | Internal motor fault or burnt controller wire. | Requires motor inspection, screen replacement won’t fix. |
| Screen Powers On but No Assist | Brake sensor stuck or throttle damaged. | Check brake levers to ensure they are fully released. |
Common Q&A: Compatibility Basics
Can I upgrade to a color lcd display for electric bike systems?
Yes, if the manufacturer of your controller offers a color version that uses the same communication protocol (e.g., UART or CAN bus). Always check with the vendor.
What happens if the communication protocol is wrong?
Even if the plug fits perfectly, an incorrect protocol means the display cannot “speak” to the controller. You will likely get an immediate communication error code upon startup.
How to Replace an Electric Bike Display 🚀
When tackling your electric bike display replacement, following the right sequence is critical. Based on testing over a dozen different setups in my garage, here is the safest and most efficient way to swap your electric bicycle lcd display.
Step-by-Step Replacement Walkthrough
- Safety Setup: Turn off the power and remove the battery from your e-bike to prevent any risk of electrical shorting during the process.
- Remove the Old Screen: Use an Allen key to loosen the mounting brackets holding the current ebike display screen to the handlebars.
- Unclip the Wiring Harness: Carefully trace the cable from the screen to its connection point. Gently pull the connector apart—do not twist if it is a waterproof Julet plug.
- Install the New Monitor: Mount your new lcd ebike display onto the handlebars and carefully align the arrows on the new plug pins before pushing them together.
- Test and Program: Reinsert the battery, power on the system, and access the settings menu to program your wheel size, speed limits, and voltage.
Align the directional arrows on the connectors before pushing them together to avoid bending the internal pins.
Maintenance & Protection Tips
Once you have a shiny new bicycle electric display installed, you want to protect it. I highly recommend buying a clear screen protector to prevent scratches. Additionally, always keep a small waterproof cover in your bag. If you have to park outside in heavy rain, slipping a cover over the screen prevents moisture from seeping into the delicate electronics.
Evaluating Display Options
If you are currently looking for a replacement, here are examples of the types of generic electric bike display screen replacement models you will encounter on the market. Always compare the specs to your current setup.

Full-Color Display
Best for: Commuters wanting a minimalist look.
- Specs: 36V/48V/52V compatible, 5-pin waterproof connector.
- Pros: Compact, easy to read in direct sunlight, simple plug and play.
- Cons: Lacks advanced USB C charging port (USB Type A Only)
Frequently Asked Questions About Ebike Displays 📖
Even with a thorough guide, you might still have a few specific questions regarding your lcd display e bike setup. Here are answers to some of the most common concerns riders have during this process.
Can I ride my e-bike without a display?
In most modern systems, no. The display acts as the ignition switch and the communication bridge to the controller. Without it, the controller will not deliver power to the motor, though you can still pedal the bike manually without assistance.
Do I need to reprogram my new display after installing it?
Yes, absolutely. A new, factory-reset screen does not know what bike it is attached to. You must enter the advanced settings menu to input your correct wheel diameter (e.g., 26″, 27.5″, 700c) and top speed limit, otherwise your speedometer and odometer will be wildly inaccurate.
Why is my new screen showing a full battery when it’s almost dead?
This is a classic voltage mismatch. If you have a 36V battery but the internal setting on your new display is set to 48V (or vice versa), the battery gauge cannot accurately read the voltage sag. You must go into the settings and match the display voltage to your battery pack.
Ready to hit the road?
Always do a short test ride in a safe area to ensure your pedal assist levels and brakes are responding correctly to the new monitor.
Conclusion
Upgrading or fixing your command center doesn’t have to be a stressful ordeal. By verifying your voltage, double-checking your connector type, and carefully following the installation steps, you can get your ride back on the road safely. Treat your new screen well, keep it dry, and enjoy the ride!
Disclaimer: This article shares expert experiences and was organized with AI assistance. Always refer to your specific manufacturer’s manual and adhere to local e-bike regulations before modifying your electrical system. Improper wiring can result in battery failure or fire.
For deep technical specifications on lithium-ion integration, consult resources like Battery University.

LEAVE A COMMENT