




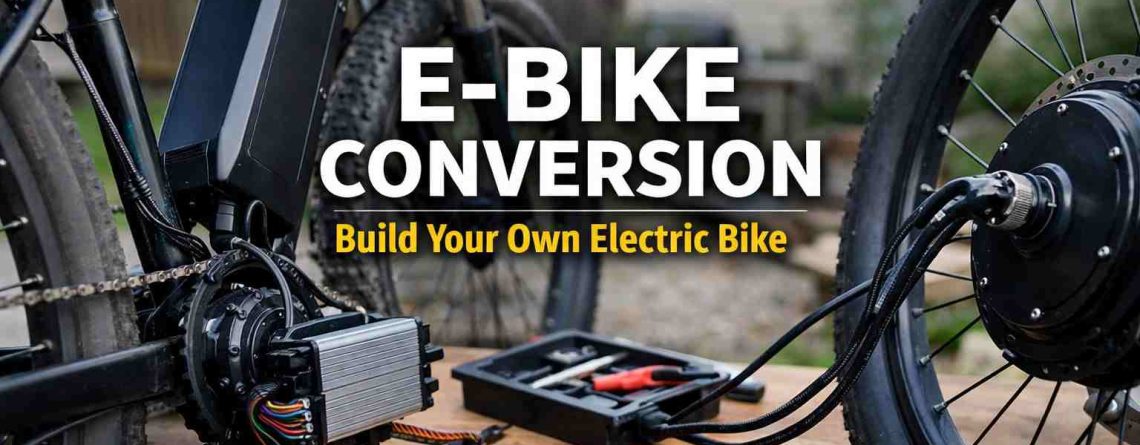
Best E Bike Conversion Secrets for Your Dream Ride
An e bike conversion is the process of adding a motor kit and a battery to a regular bicycle. To do it right, you must match the battery voltage to your motor’s needs. You also need to pick a battery with enough energy (Wh) and the right shape to fit your bike safely.
In my experience, many first-time conversions fail for reasons unrelated to the motor. The most common constraint is an underspecified battery system. When the pack can’t sustain current under load, performance drops and reliability suffers.

The three main parts of your new electric bike build.
Quick Guide: Picking Your Battery for e-Bike Conversion Kit
To keep your build simple, match the battery voltage to your kit, check your range needs in Wh, and choose a safe spot to mount it.
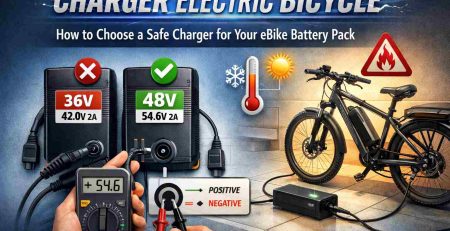
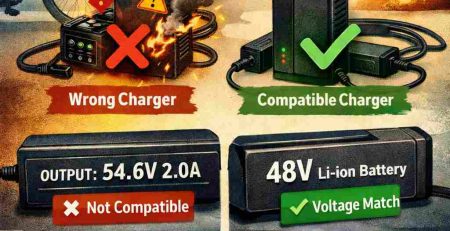
- Check Voltage: Your battery and motor must use the same voltage (like 36V or 48V).
- Energy (Wh): Look at Watt-hours (Wh) to see how far you can ride.
- Power Limit: Make sure the battery can handle the motor’s “push” without cutting off.
- Cold Weather: Never charge a frozen battery; keep it inside during winter.
- Mounting: Decide if you want the weight on the frame or a rear rack.
Ready to Build Your Bike?
Check your motor’s voltage first before you buy any parts.
How to choose an eBike battery pack for an e-bike conversion
First, match the voltage. Second, pick your range. Third, check the battery’s power limits. Finally, decide how it will fit on your bike.
When you first compare battery specs, the numbers can feel overwhelming. In practice, start with watt-hours (Wh). Watt-hours describe the pack’s usable energy capacity—effectively, the size of your “fuel tank.”
You calculate Wh by multiplying voltage (V) by amp-hours (Ah). As a rule of thumb, Wh is the most reliable single metric for estimating real-world range.
Simple Checklist for Your Build
- Match Voltage: If your kit says 48V, buy a 48V battery.
- Range Check: Think about your daily ride. More Wh means more miles.
- Check the BMS: This “brain” inside the battery must handle your motor’s power.
- Find the Fit: Make sure the battery pack fits in your bike frame.
- Plan for Care: Know where you will charge and store it in winter.
Q: Can I use a 36V battery on a 48V kit?
A: No. It will likely not work. Your motor needs more “push” than a 36V battery can give.
Q: Is more Ah always better?
A: Not always. A higher Ah battery is heavier. You have to balance more range with more weight.
Common Battery Voltages for Conversions
| Voltage | Best Use Case | Approx. Weight | What to Check | Risk Note |
|---|---|---|---|---|
| 36V | Light, easy city rides | 2.5 – 3.5 kg | Controller match | Low power limit |
| 48V | Most common builds | 3.5 – 5.0 kg | Connectors | Heat if pushed |
| 52V | Extra speed & hills | 4.0 – 5.5 kg | Voltage limits | Over-voltage |
| 60V | High-power kits | 5.5 – 7.0 kg | Heavy wiring | Safety risk |
| 72V | Extreme DIY builds | 7.0 – 10.0+ kg | Special parts | Part failure |
Choose your Wh based on how many miles you need per day.
The E Bike Conversion Range Calculator Logic
While a digital ebike battery range calculator can give you an estimate, understanding the core logic is better for your conversion project. Most conversion kits consume about 20-25 Watt-hours (Wh) per mile on flat terrain. To calculate your range, simply divide your total battery Wh by 20. For example, a 48V 15Ah battery has 720Wh, providing approximately 36 miles of assisted riding.
How We Verify Your Build
To make sure your bike stays safe, we use a simple three-step check:
- Before Riding: Check all wires. Make sure nothing is loose.
- The First Ride: Ride on a flat road first. Then try a small hill. Watch for any heat near the wires.
- After Riding: Feel the battery and wires. They should not feel hot.
- Ask the Experts: If you are not sure about your wiring, contact the brand’s customer support. They can help you check if your setup is safe.
Decision box for conversion-kit battery buyers
Group your choices by voltage first. Then check if the battery can handle your motor before you pick a mount.
I worked on a front-wheel kit once. The battery location was very important because it changed how the bike turned. For mid-drive kits, the battery has to work harder because the motor pulls a lot of energy very fast. Always check the BMS limits for these builds.
Frame batteries usually feel more balanced.

EM3ev City Rider (48V)
Great for 500W city motors.
- Fits: Bike frame
- Type: Reliable
- Best for: Commuting
EM3ev Hill Climber (52V)
For 1000W motors and steep hills.
- Fits: Bike frame
- Type: High power
- Best for: Speed
The Simple Decision Box
- Commuting daily? Pick 48V or 52V. Put it on the frame for better balance.
- Living in the cold? Always charge your battery inside the house.
- High-power motor? Check the battery power limits before you buy.
Common Questions
First, match the voltage to your motor controller (e.g., 48V). Second, calculate your daily range needs in Wh. Third, consider the battery weight and fitment—frame mounting is ideal for a balanced ride on any e bike conversion.
No. Never charge a battery if the internal temperature is below freezing (0°C/32°F). Bring it inside and let it reach room temperature before charging to avoid permanent lithium plating.
Wh (Watt-hours) is the most important metric as it tells you the total energy capacity. You calculate it by multiplying Voltage (V) by Amp-hours (Ah). More Wh always equals more potential range for your kit.
Check the continuous “Amps” limit on the battery’s BMS. This number must be equal to or higher than the maximum current draw required by your motor controller to prevent power cut-offs under load.
The middle of the bike frame (the triangle) is the best location. This keeps the weight centered and low, improving stability and handling compared to rear rack mounts.
Keep your battery in a cool, dry place inside your home. It should be stored at approximately 50-60% charge level—never fully empty or totally full—to maintain cell health during long periods of inactivity.
Ready for Your E Bike Conversion?
Complete your build with our high-performance motor kits, designed for seamless compatibility with EM3ev battery packs.
Summary: Starting an e bike conversion is exciting. Just remember to match your voltage first. Pick a battery with enough Wh for your ride, and mount it where it feels stable. If you take care of your battery, your new electric bike will last for many years.


LEAVE A COMMENT