





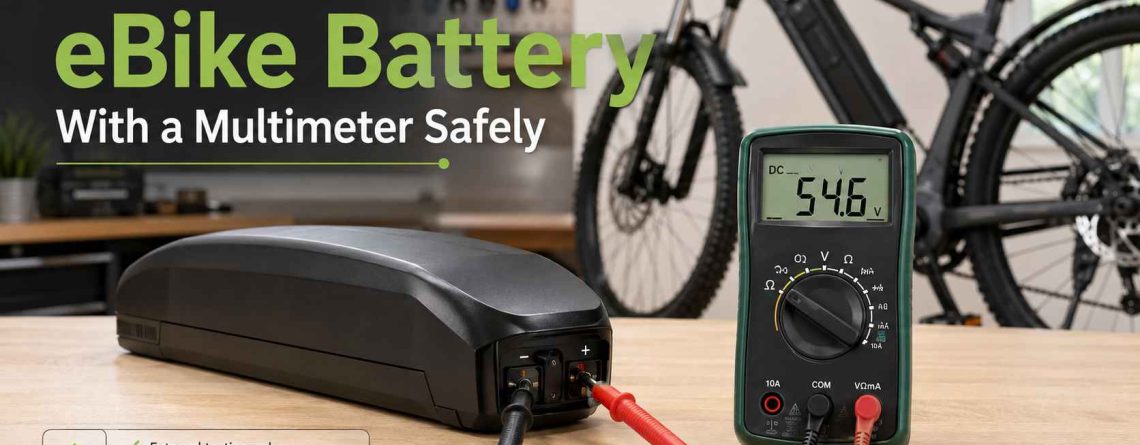
How to Test an eBike Battery With a Multimeter Safely
To test an eBike battery with a multimeter, set the meter to DC voltage, place the black lead in COM and the red lead in the V/Ω jack, then measure across the battery’s accessible positive and negative discharge contacts. Compare the result with the battery’s nominal and expected full-charge voltage. Voltage testing can reveal obvious charging or output problems, but it cannot measure true battery capacity or cell balance by itself.
Quick Answer
- Check the battery label first so you know whether it is 36V, 48V, 52V, 72V, or another system.
- Set the multimeter to DC voltage, not AC voltage or current mode.
- Use the COM and V/Ω meter inputs.
- Measure only at accessible battery terminals or approved test points.
- Compare the reading with the expected voltage for that battery type.
- A normal no-load voltage does not prove that the battery still has good capacity.
A multimeter is one of the simplest tools for checking an eBike battery that will not charge, shows an unusual battery level, or seems to lose power too quickly.
However, the meter only tells you part of the story. It can show battery voltage very well. It cannot tell you exactly how many watt-hours remain, whether every internal cell group is balanced, or whether the battery can still deliver enough current under load.
The goal is therefore to use voltage as a safe first diagnostic step, not as a complete battery-health test.

Know Your eBike Battery Voltage Before Testing
Always identify the battery’s nominal voltage before interpreting a multimeter reading because a healthy 36V pack and a healthy 52V pack should show very different voltages.
Check the battery label or system documentation first.
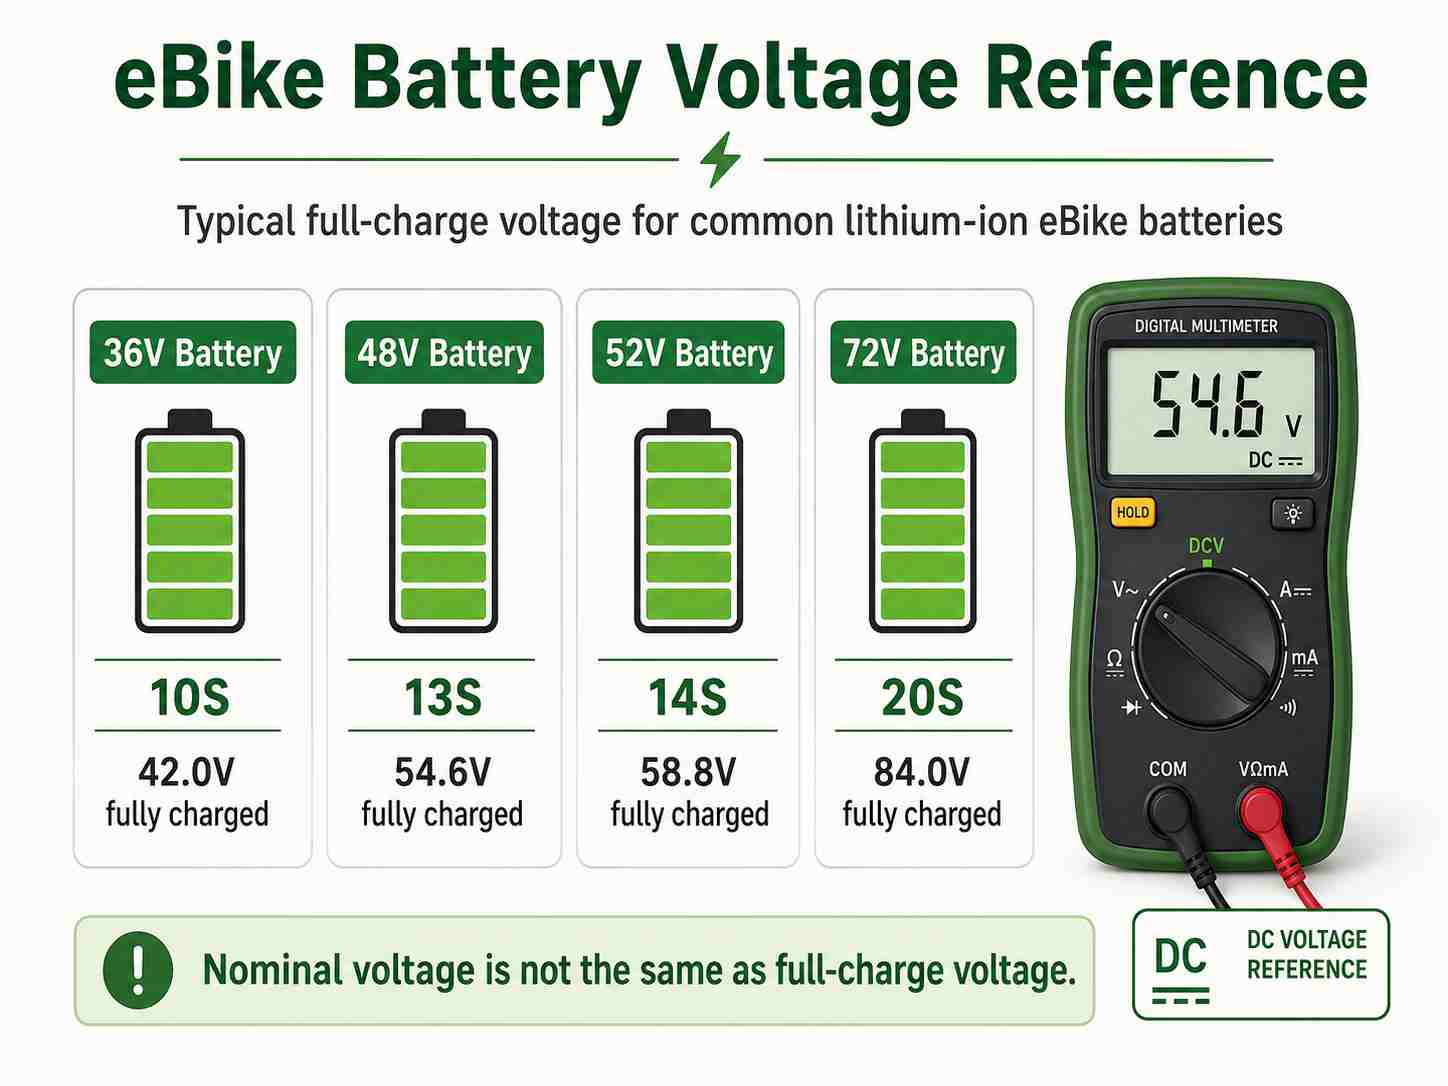
For common lithium-ion eBike batteries that charge to 4.2V per series group, these are typical reference values:
| Nominal Battery | Typical Configuration | Approx. Full Charge |
|---|---|---|
| 36V | 10S | 42.0V |
| 48V | 13S | 54.6V |
| 52V | 14S | 58.8V |
| 72V | 20S | 84.0V |
These figures explain an important point: a “48V battery” should not read exactly 48.0V when fully charged. The 48V label describes its nominal voltage class.
If you want a broader explanation of those voltage classes, see the eBike battery voltage guide.
For a more detailed 48V state-of-charge reference, use the 48V battery voltage chart.
Step 1: Check the Battery Before Using the Multimeter
Do not perform a routine voltage test on a battery that is visibly swollen, cracked, leaking, badly damaged, unusually hot, or giving off an unusual odor.
Lithium-ion eBike batteries store enough energy to produce severe heat if they are shorted or damaged.
Before testing, inspect the battery case, connector, and accessible contacts.
Stop if you see:
- Swelling or case distortion
- Cracks or impact damage
- Melted or badly discolored terminals
- Water inside the battery or connector area
- Burning smell, smoke, or unusual heat
Do not open the battery case to reach internal cells for this test. This guide is limited to external battery measurements.
Step 2: Set Up the Multimeter Correctly
Use DC voltage mode with the black lead in COM and the red lead in the V/Ω input.
This setup is important because an eBike battery supplies direct current.
- Insert the black probe into COM.
- Insert the red probe into V/Ω.
- Turn the dial to DC voltage (V⎓).
- If your meter is not auto-ranging, select a voltage range above the battery’s expected maximum voltage.
Important: Never put the red lead in the A or mA current jack and then place the probes across the battery terminals. That configuration can create a short circuit through the meter.
Do not use resistance or continuity mode on an energized battery output either.
Step 3: Measure the Battery Voltage
With the battery switched off or removed from the bike when the design allows it, place the probes only on clearly identified external positive and negative contacts.
Use the battery manufacturer’s connector information if polarity is not obvious.
Touch the black probe to the negative terminal and the red probe to the positive terminal.
Do not allow the metal probe tips to touch each other while they are contacting the battery.
Read the display.
If you accidentally reverse the probes, most digital multimeters simply show a negative sign. For example, a normal 52V reading may appear as -56V instead of +56V. That does not by itself mean the battery polarity is faulty.
If the contacts are recessed, covered, or too close together for safe probing, do not force sharp probes into the connector. Use an approved breakout adapter or have the battery tested professionally.
How to Read the Multimeter Result
The first question is whether the measured voltage is reasonable for the battery’s nominal voltage and current state of charge.
| Multimeter Result | What It Suggests |
|---|---|
| Near expected full-charge voltage | Battery output voltage is present; capacity can still be weak |
| Lower but within normal operating range | Battery may simply be partly discharged |
| Much lower than expected after charging | Charging, BMS, battery, or measurement issue needs investigation |
| 0V or no stable reading | Check connector, switch, BMS state, fuse, or service documentation |
| Voltage changes when connector moves | Possible connector or wiring fault |
Do not diagnose the battery from one number alone.
For example, a 48V battery measuring close to 54.6V after charging has reached the expected pack voltage. That does not prove it still has its original usable capacity.
Can a Multimeter Tell If an eBike Battery Is Bad?
A multimeter can identify obvious voltage problems, but a normal resting voltage cannot prove that an eBike battery is healthy.
This is one of the most important limits of the test.
An aging battery can still rise to its normal full-charge voltage. The problem may only become visible when the motor asks for current.
Under load, internal resistance causes battery voltage to fall. This is called voltage sag.
A worn, cold, damaged, or undersized battery may sag more strongly than expected. The BMS or controller may then shut the system down even though the battery looked normal while sitting on a bench.
If the battery reads normally at rest but the bike cuts out during acceleration or climbing, use the eBike battery cutout under load guide rather than assuming the multimeter test has cleared the battery.
How to Check Voltage Under Normal Load Safely
Use the bike’s own voltage display or approved diagnostic equipment to observe voltage under load rather than putting a handheld multimeter into the high-current battery circuit.
This distinction matters.
You should not place an ordinary multimeter in current mode between the battery and controller unless the complete measurement method, meter rating, leads, and expected current have been professionally verified.
Many eBike systems can draw far more current than the fused current input on a normal handheld multimeter is designed to measure.
Instead, if your display shows real-time pack voltage, compare the resting voltage with the voltage during ordinary acceleration.
A temporary drop is normal. A very large drop followed by shutdown deserves further diagnosis.
The exact acceptable sag depends on the battery cells, state of charge, temperature, controller current, BMS, wiring, and pack condition, so this article does not invent one universal voltage-drop limit.
What If the Battery Voltage Looks Normal but the Bike Has No Power?
If battery voltage is present but the eBike still will not power up, the fault may be outside the battery cells themselves.
Possible areas include the battery mount, discharge connector, fuse, wiring, display, controller, or BMS output state.
Do not open the battery pack or bypass the BMS to force power out.
If the battery shows a normal full-charge voltage but the bike remains dead, continue with the eBike battery fully charged but not working guide.
Common Multimeter Testing Mistakes
The most serious mistakes involve the wrong meter mode, shorting battery contacts, or interpreting open-circuit voltage as a complete battery-health test.
- Using AC voltage instead of DC voltage
- Leaving the red lead in the current/A jack
- Shorting positive and negative contacts with a probe
- Testing unknown pins based only on connector color
- Using continuity or resistance mode on a live battery
- Opening the battery to measure individual cell groups
- Assuming full voltage means full battery health
- Using one generic voltage number for every eBike battery
Frequently Asked Questions
What setting should I use to test an eBike battery with a multimeter?
Use DC voltage mode. Put the black lead in COM and the red lead in the V/Ω jack. If the meter is manually ranged, select a voltage range above the battery’s maximum expected voltage.
What should a 48V eBike battery read on a multimeter?
A typical 48V/13S lithium-ion battery reaches about 54.6V when fully charged. A lower reading can simply mean the battery is partly discharged.
What should a 52V eBike battery read when fully charged?
A typical 52V/14S lithium-ion eBike battery reaches about 58.8V at full charge.
Can a multimeter test eBike battery capacity?
Not directly. A voltage reading is useful for diagnosis, but true usable capacity requires measuring energy delivered during a controlled discharge or using suitable battery diagnostic equipment.
Can a battery show full voltage and still be bad?
Yes. An aging or damaged battery may reach normal resting voltage but experience excessive voltage sag or reduced capacity under load.
Should I open an eBike battery to test individual cells?
No for a normal consumer test. High-energy lithium-ion packs contain live internal connections and should only be opened and serviced by qualified personnel using the correct procedure.
Final Answer
To test an eBike battery with a multimeter, start with the battery label, use DC voltage mode, connect the meter through COM and V/Ω, and measure only the accessible external battery terminals.
Compare the result with the expected voltage for your battery system. Around 42.0V, 54.6V, 58.8V, and 84.0V are typical full-charge values for common 36V, 48V, 52V, and 72V lithium-ion packs.
Remember that voltage is only the first diagnostic clue. A battery can show normal voltage while having poor capacity or excessive voltage sag under load.
If the battery is swollen, damaged, unusually hot, or difficult to probe safely, stop testing rather than opening or bypassing the pack.




LEAVE A COMMENT